During my trips to the beautifully picturesque, Plettenberg Bay, I stumbled on a fantastic product called
O' My Goodness.
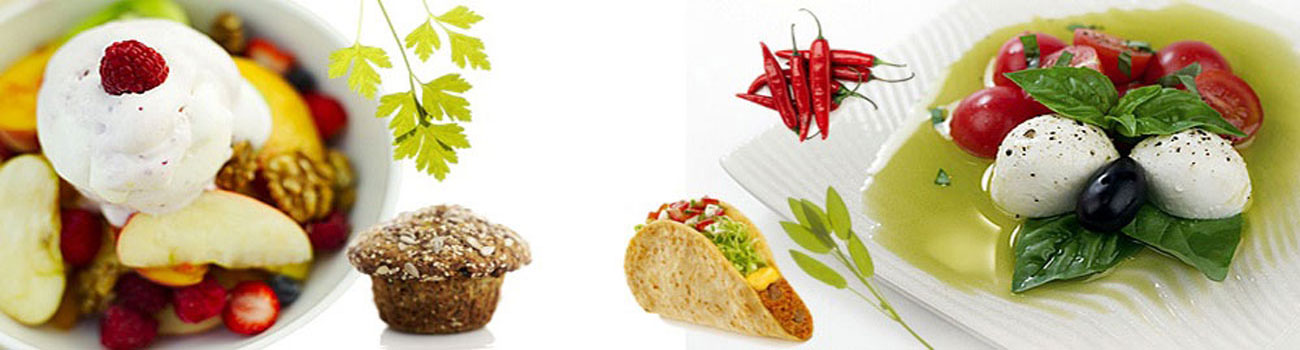
This is a range of vegetarian, organic and raw snacks, focusing on health, without sacrificing on taste.
The remarkable thing about this product range is that the ingredients are pure, generally kept in their original state, locally sourced where possible and do not contain any additives, preservatives, sugar, dairy or eggs. Gluten is also avoided as much as possible, therefore only a few products contain it, such as their rolled oat balls.
The range is split into three categories:
Raw Vegan Gourmet:
These raw snacks are dehydrated below 47 degrees Celsius in order to retain all the nutrients, enzymes and intense flavour.
Examples include their amazing
Mushroom Biltong, which has the flavour and texture of real biltong! Another favourite of mine are the
Spiced Cashews; packed full of delectable flavour as well as magnesium and copper. The
Sweet Potato Flax Crackers are an excellent alternative to wheat or gluten-rich crackers or biscuits, which I am always on the hunt for, and they taste yummy!
I also love the
Cinnamon & Apple Munch, a tasty combination of nuts, seeds, cinnamon and fruit
.
All Round Goodness:
Mouthwatering balls of deliciousness that contain fruit, nuts, spices and raw chocolate.
Warning: these are addictive!
Examples include: All Round Peachy - peaches are an excellent source of Vitamin C, beta-carotene,soluble fiber and potassium. Other ingredients are dates, raisins, raw macadamia nuts, raw almonds, ginger powder, nutmeg and cinnamon - making for a delightful taste explosion.
Equally delicious are the Coco Citrus Rounds, which contain raw cacao and organic dried naartjie.
Other rounds: Apricot Rounds, Cashmere Rounds, Oat Rounds, Carob Oat Rounds.
(If you find it too hard to make a choice, a selection of all their rounds is available too.)
Organic Tastes Better:
Tasty sun ripened fruit that is organically grown and naturally dried without any preservatives.
Examples include: Dried Apples, dried apricots, naartjies, peaches, plums and of course tomatoes.
O' My Goodness was created by Ariella Kaplan and Kim van Rensburg who wanted to provide their children as well as everyone else with snack food that would leave one feeling "energized, buoyant, refueled and ready to take on the next challenge."
I think that they have achieved this and so much more!
I can't get enough of their products and I just love the fact that they are good for me too!
For more info on where to buy the products in an area closest to you, or even online, go to
www.omygoodness.co.za. (They have stockists in Eastern Cape, Gauteng, Kwazulu Natal and the Western Cape.)
"It's not about the food in our lives. It's about the life in our food."
Dr Brian Clement, Hippocrates Institute
(Quote from website)